HISENSE · THE FRAME STUDIO GUIDE
How to upload your own art to Hisense CanvasTV
Find Photo Collection, send an image from your phone, and give it the right finish on the screen.
Open Art Mode and choose Photo Collection. The S7N manual supports mobile uploads using the TV’s QR code and photos from USB storage.
Applies to: S7N CanvasTV models running Google TV in the US and Canada. Regional VIDAA models and other generations may use different controls.
- 01 · Prepare your image
Download the artwork file with the crop you want.
- 02 · Follow your TV’s guide
Use its supported app, photo album, or USB import.
- 03 · Make it feel at home
Review the fit and presentation on your own screen.
Before you start
- A downloaded artwork file
- A phone on the same Wi-Fi network as the TV for QR uploads
- Your remote, or a compatible USB drive for the alternative route
Open the CanvasTV Art Mode app
Find Art Mode in the Home screen’s apps. The S7N manual also lists Settings → Apps → All Apps → Art Mode. Open the content selection controls and choose Photo Collection.
Use this dedicated collection for the instructions below. If your screen instead shows Google TV’s Ambient Mode, you are in a different display feature. Return to the Art Mode app before looking for the photo upload controls.
Prepare the artwork before you transfer it
Download the finished image, rather than taking a screenshot of its preview. For a landscape 4K TV, Frame Studio prepares a 3840 × 2160 JPEG. Open the download once to check that it contains the artwork you want, with the crop you intended.
Keep an unedited original. Give the TV copy a recognizable name, such as olive-coast-4k.jpg, so it is easy to find beside your family photos. If you added a border to the file, remember that a second matte on the TV will make the artwork smaller.
Send the artwork from your phone
- Connect your phone and the CanvasTV to the same Wi-Fi network.
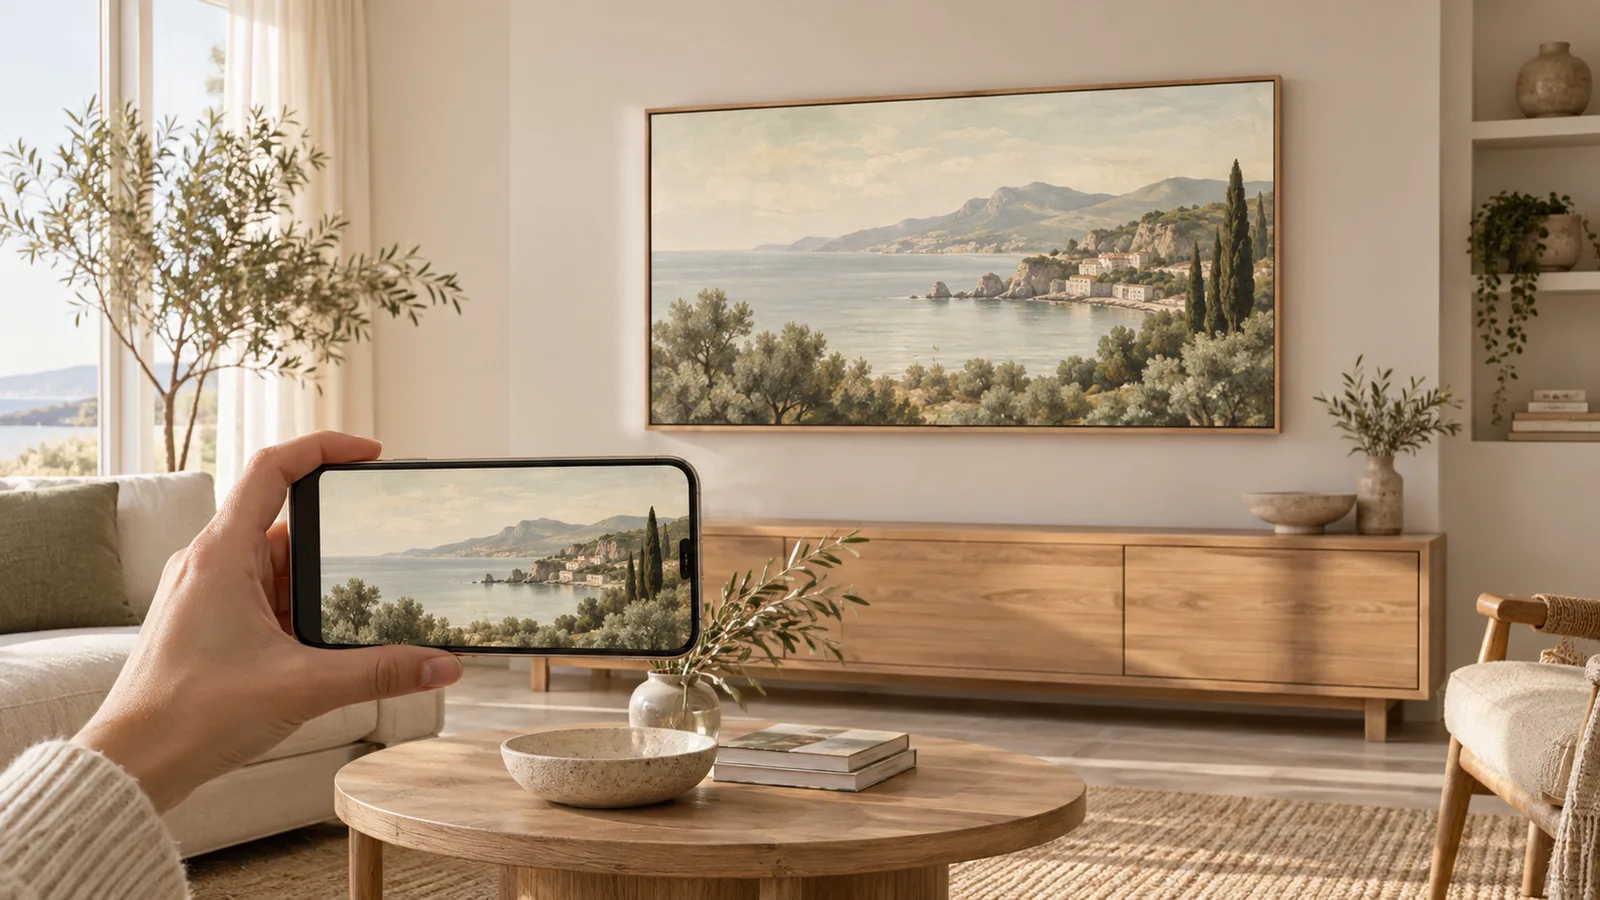
- In Photo Collection, bring up the mobile upload option and scan the QR code shown by your own TV.
- Follow the phone’s upload prompts and select the downloaded artwork.
- When the image is available in the collection, select it for display.
Use a USB drive for a local transfer
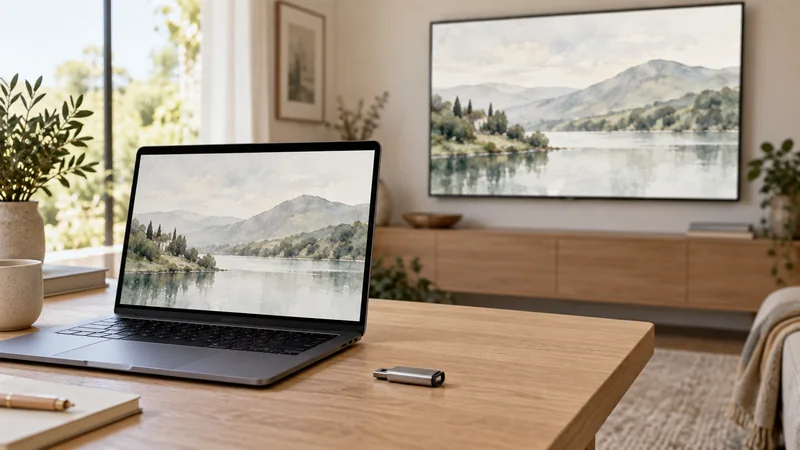
Copy the JPEG to a compatible drive and connect it to the TV. Open Art Mode → Photo Collection and use the USB photo option shown by your software. The manual confirms USB as a source, but does not give one universal sequence of import button names.
Before removing the drive, check whether the artwork has been saved to the collection or is being viewed from the drive. Keep the original file on your computer either way.
Choose a matte and rotation style
Art Mode settings include Mat and Rotation controls. Choose a mat style and color if you want a framed-paper effect, and choose whether images rotate in order, randomly, or not at all.
For a cohesive small collection, start with two or three pieces with similar brightness. A pale landscape followed by a nearly black photograph can make the room feel as if the TV keeps changing brightness, even when each picture looks good by itself.
If the QR upload stalls
Check the simple things first: the phone and TV are on the intended network, the JPEG opens locally, and you scanned the current code on your TV. Try a single file before a batch. Hisense notes that files that are too small or too large may fail, so use your model manual’s limits rather than assuming every image is accepted.
If the image appears but the crop is wrong, return to the original file and check the composition. Save a second clearly named version so you can compare the two on the wall without losing your first attempt.
Sources and model notes
These manufacturer instructions were checked on September 27, 2026. Menu names and availability can change with your model, country, and software. This guide is based on documentation, not a hands-on test of every TV.
One image. A different room.
Create artwork or prepare a photo in the studio, then come back here to put it on your TV. See credits and membership pricing.
Open Frame Studio